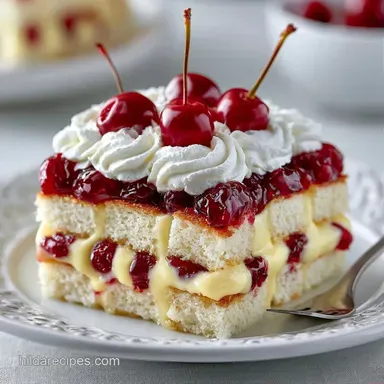
Desserts with Angel Food Cake and Cherry Pudding
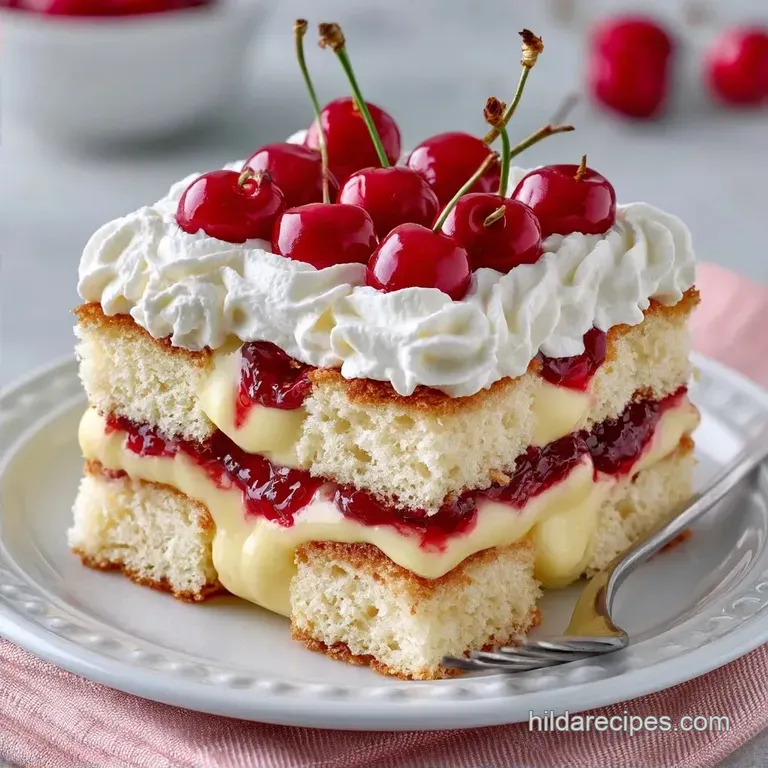
- Time: 15 min active + 2 hours chilling
- Flavor/Texture Hook: Airy sponge with tart cherry ribbons
- Perfect for: No bake summer gatherings or beginner friendly hosting
The smell of fresh cherries and vanilla usually hits the room before the dish even lands on the table. Most potluck desserts feel heavy and cloying, usually leaving you weighed down by dense crusts and too much sugar. I wanted something that felt light but still had enough structure to hold up in a glass bowl.
Here is the perfect recipe for desserts with angel food cake and pudding.
The focus here is the cake. While many use a standard sponge, the angel food variety is essential because of its unique air cell structure. It doesn't just sit there; it actively interacts with the pudding and fruit.
You can expect a dessert that balances the sweetness of vanilla with the acidity of cherries. It is a straightforward assembly process that requires zero oven time. This makes it a reliable choice when your kitchen is already too hot for baking.
Quick Recipe Specs
This assembly is designed for maximum efficiency. Because there is no heat involved, the only real constraint is the chilling time. If you skip the rest period, the pudding won't fully set, and the layers will slide.
Precision in the cubing process ensures each scoop gets a bit of every component. I recommend 1 inch cubes for the best structural ratio.
| Feature | Detail |
|---|---|
| Prep Time | 15 minutes |
| Cook Time | 0 minutes |
| Total Time | 2 hours 15 mins |
| Serving Size | 12 servings |
The Required Ingredients
The quality of the whipping cream makes a huge difference here. Use a brand with at least 36% fat content to ensure the peaks stay stiff.
For the Pudding Base
- 3.4 oz instant vanilla pudding mix Why this? provides immediate stability without cooking
- 2 cups cold whole milk Why this? fat content keeps the pudding creamy
For the Fruit & Cake Layers
- 10 oz angel food cake, cubed into 1 inch pieces Why this? airy texture absorbs syrups
- 21 oz cherry pie filling Why this? adds tartness and visual contrast
For the Whipped Topping
- 2 cups heavy whipping cream, chilled Why this? essential for stiff peaks
- 1/4 cup powdered sugar Why this? dissolves faster than granulated
- 1 tsp vanilla extract Why this? deepens the cream's aroma
| Original Ingredient | Substitute | Why It Works |
|---|---|---|
| Whole Milk (2 cups) | Almond Milk (unsweetened) | Works for dairy-free. Note: Result is slightly thinner |
| Cherry Pie Filling | Fresh Raspberries | Natural tartness. Note: Less sweetness, no syrup |
| Angel Food Cake | Pound Cake | Denser base. Note: Makes the dessert much heavier |
Essential Kitchen Tools
While a professional kitchen isn't required, a few specific items will make the preparation easier. A glass trifle bowl is the go-to option since it puts the colorful layers on display.
A hand mixer works well for the pudding, but make sure to use a chilled metal bowl when whipping the cream. The colder the vessel, the more efficiently the fat globules trap air, which creates a more stable foam.
| Tool | Purpose | Alternative |
|---|---|---|
| Electric Mixer | Whipping cream and pudding | Balloon whisk (more effort) |
| Trifle Bowl | Layering and presentation | 9x13 glass baking dish |
| Spatula | Smoothing the pudding | Large spoon |
Bringing It Together
Proceed in this specific order. Be precise with the pudding beating time to ensure a consistent thickness.
1. Prepare the Pudding
In a medium bowl, combine the cold milk and instant vanilla pudding mix. Using an electric mixer on medium-high, beat for 2 minutes until the mixture thickens and becomes glossy. Set aside.
2. Whip the Cream
Combine chilled heavy whipping cream, powdered sugar, and vanilla extract in a cold bowl. Whip on high until stiff peaks form. Stop immediately once the cream is stable to avoid a grainy consistency.
3. Build the Base
Layer half of the angel food cake cubes at the bottom of a glass dish, pressing gently to eliminate large gaps.
4. Add Fruit
Evenly spread half of the cherry pie filling over the cake, using a spoon to push cherries toward the edges.
5. First Pudding Layer
Pour half of the vanilla pudding over the cherries and smooth the top with a spatula for a level surface.
6. Repeat Layers
Add the remaining cake cubes, followed by the rest of the cherry filling and the remaining pudding.
7. Top with Cream
Spread the whipped cream over the final layer, creating a thick, uniform cover across the surface.
8. The Final Chill
Refrigerate for at least 2 hours. This step is mandatory to allow the pudding to firm up and flavors to meld.
Fixing Common Issues
Most issues with this recipe come down to temperature. If your ingredients are too warm, the emulsification in the cream and pudding will fail.
Runny Pudding
This usually happens if the milk was room temperature or the mixing time was too short. If you notice the pudding is too thin during assembly, don't panic. Chilling for an extra hour often fixes this as the starches fully hydrate.
Dry Cake
If the cake cubes feel too dry, it might be because the cake was stored in a dry environment. You can lightly brush the cubes with a bit of the cherry syrup from the pie filling before adding them to the bowl.
Collapsed Cream
Whipped cream collapses when it is overbeaten or the fat isn't cold enough. If the cream looks grainy, you've gone too far. You can sometimes save it by gently folding in a tablespoon of fresh, un whipped cream.
| Problem | Fix |
|---|---|
| Pudding too thin | Chill for 1 additional hour |
| Dry cake cubes | Brush with cherry syrup |
| Grainy topping | Fold in 1 tbsp liquid cream |
Ways to Mix It Up
If you want to move away from cherries, this format is very flexible. Many people enjoy Desserts with Angel Food Cake and strawberries, which provides a cleaner, fresher profile.
For those who prefer to make their own base, using a Homemade Angel Food Cake recipe gives you more control over the sweetness. You could also try Angel Food Cake cupcakes by layering the pudding and fruit inside the cupcake shells for a handheld version.
If you want a different flavor profile for your Food Cake and Pudding, try these adjustments: Extra tang? → Fold in 1 tsp lemon zest to the whipped cream. More richness? → Replace the milk in the pudding with half and half. Brighter color? → Use fresh mango cubes instead of cherries.
| Comparison | store-bought Cake | Homemade Cake |
|---|---|---|
| Texture | Uniform, soft | Highly aerated |
| Prep Time | 0 minutes | 90 minutes |
| Cost | Low | Medium |
Storage and Leftovers
Keep this dessert in a sealed glass container in the cooler for up to 3 days. Do not freeze this dish, as the pudding and whipped cream will separate and become watery upon thawing.
For zero waste, if you have leftover cake crumbs, toss them into a smoothie or use them as a base for a small parfait. Leftover whipped cream can be used as a topping for coffee or fresh fruit.
When handling your Angel Food Cake and Pudding leftovers, serve them cold. The flavors actually deepen after 24 hours, making the second day often better than the first.
What to Serve With It
Since this is a very sweet and creamy dish, it pairs well with things that offer a sharp contrast. A side of fresh mint leaves or a few tart raspberries on top adds a professional look.
If you are serving this at a party, a glass of chilled Prosecco or a light iced tea balances the richness of the Food Cake and Pudding perfectly.
Keep the serving portions moderate. Because of the heavy cream and pudding, a small scoop is usually enough to satisfy.
Why the Texture Works
The trick is the capillary action of the sponge. The angel food cake has large air pockets that pull moisture from the pudding and cherries, creating a moist texture without making the cake soggy.
Density Grading: We place the heaviest items (cake and fruit) at the bottom and the lightest (whipped cream) on top. This prevents the weight of the ingredients from crushing the air out of the topping.
Chef Note: Use a metal spoon to scoop this dessert. A plastic spoon often struggles to cut through the dense pudding and cake layers simultaneously.
Technical Precision Checkpoints
- Pudding Beat: Exactly 2 minutes for a glossy finish.
- Cake Size: 1 inch cubes for structural stability.
- Chill Time: Minimum 2 hours for the starch to set.
Debunking Kitchen Myths
Myth: Angel food cake must be homemade to be airy. Truth: high-quality store-bought versions are often more consistent in their air cell distribution, which actually helps them absorb pudding more evenly.
Myth: Instant pudding is always "fake" tasting. Truth: When paired with real heavy cream and tart fruit, the vanilla notes in instant pudding act as a neutral base that enhances the other flavors.
For those interested in the nutritional breakdown of the components, you can check the USDA FoodData Central for specific ingredient data. This dish relies on a balance of fats and sugars to maintain its shape over several days.
Recipe FAQs
What pairs well with angel food cake?
Fresh cherries and vanilla pudding. These ingredients provide a tart and creamy contrast to the airy cake. If you enjoy these creamy textures, try our coconut pudding.
How to use leftover angel food cake?
Toss crumbs into a smoothie or use them as a base for a small parfait. This ensures zero waste while utilizing every bit of the cake.
Which dessert combines angel food cake with pie filling?
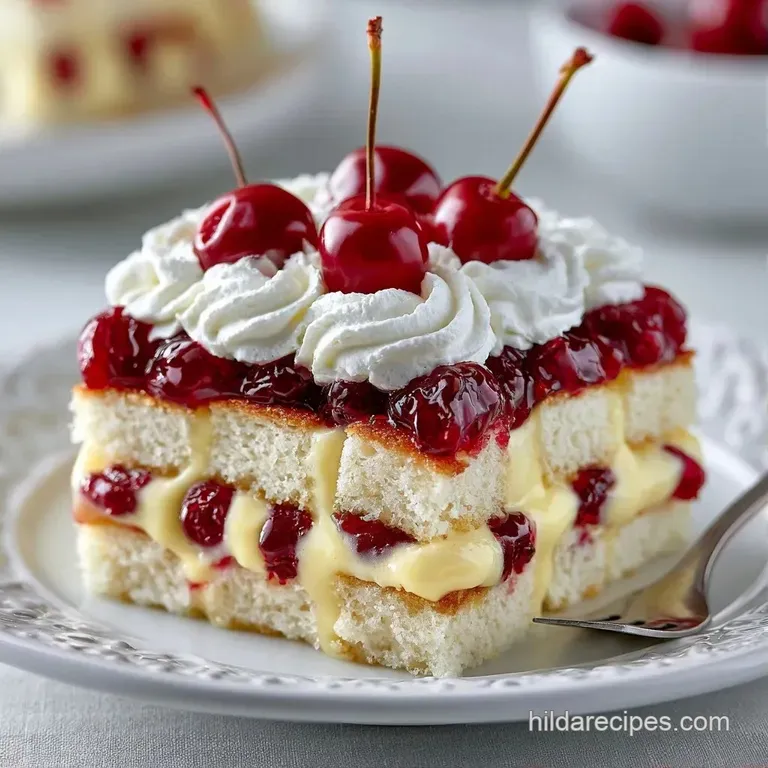
A layered trifle. This specific dessert layers cubed cake, cherry pie filling, and vanilla pudding, topped with a thick blanket of whipped cream.
Is it true that angel food cake is a type of bread?
Not quite. This is a foam cake that uses beaten egg whites for stability, as opposed to the yeast or gluten structure typical of bread.
Where should I assemble this to make it look fancy?
Layer the components in a clear glass trifle bowl. Showing the distinct bands of fruit and cream creates a professional, high-end presentation.
Desserts with Angel Food Cake for 12