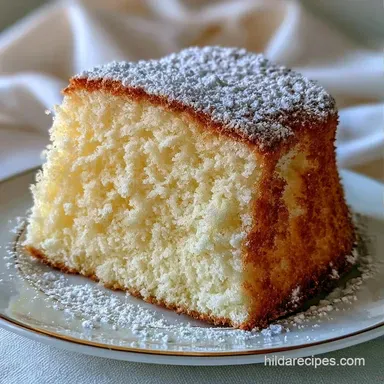
Cloud-Light Homemade Angel Food Cake
- Time: 15 min active + 2 hrs 45 mins cooling/baking
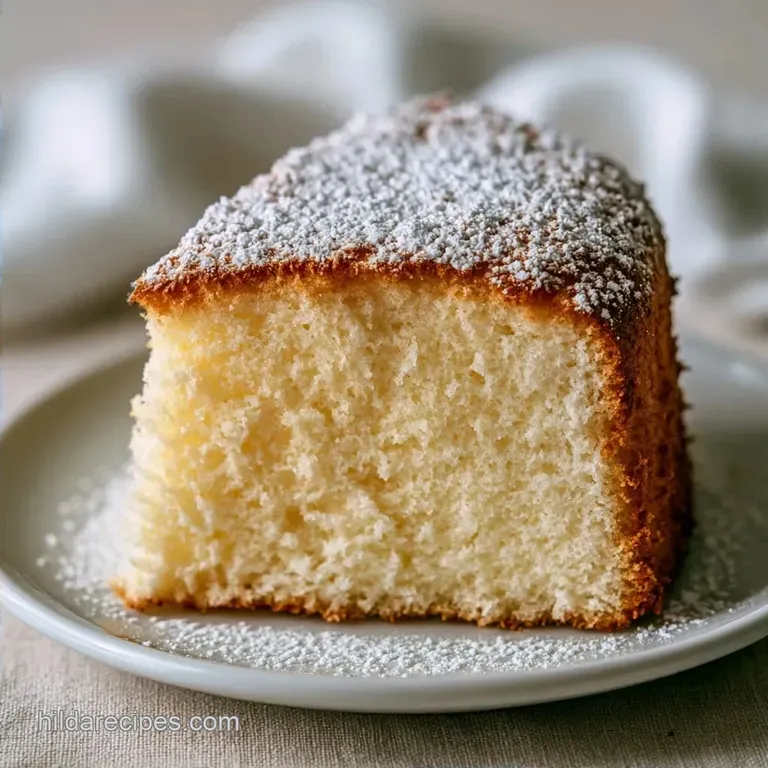
- Flavor/Texture Hook: Airy, cloud like sponge with a slight vanilla sweetness
- Perfect for: Summer garden parties or light brunch desserts
- Precision Guide for Angel Food Cake
- The Mechanics of the Lift
- Detailed Shopping List
- Technical Recipe Specs
- Required Baking Tools
- The Baking Process
- Troubleshooting the Bake
- Adjusting the Batch Size
- Storage and Waste Tips
- Serving Your Cake
- Flavour and Diet Swaps
- Common Baking Myths
- Recipe FAQs
- 📝 Recipe Card
Precision Guide for Angel Food Cake
The sound of a stand mixer hitting high gear is the start of the process. I remember a July afternoon when the humidity was so high that my first batch of foam just wouldn't hold. I spent an hour staring at a deflated mess, realizing that the temperature of my equipment mattered as much as the ingredients.
When you get it right, the batter looks like a glossy, white cloud that barely feels like it has weight in the pan.
This Homemade Angel Food Cake is all about managing air. We aren't using baking powder or soda here. Instead, we are trapping millions of tiny bubbles inside a network of egg proteins. If you follow the ratios and timing, you get a sponge that is light enough to float but strong enough to hold a mountain of fresh berries.
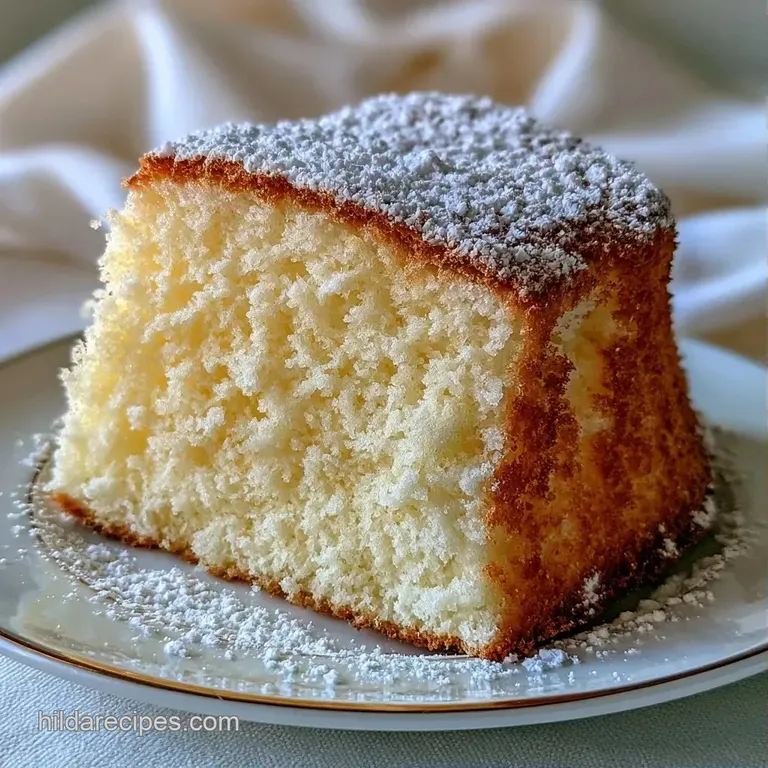
You can expect a cake that is snowy white and slightly springy. It's a technical bake, but once you understand the physics of the egg foam, it becomes an Easy Angel Food Cake that you can whip up for any occasion. The key is patience during the cooling phase, which is where the structure actually sets.
The Mechanics of the Lift
- Acid Stabilization: Adding cream of tartar lowers the pH of the egg whites. This prevents the protein bonds from over tightening, which stops the foam from collapsing or "weeping" liquid.
- Low Protein Flour: Using cake flour instead of all purpose reduces gluten formation. Less gluten means the cake stays tender and avoids a bread like chew.
- Thermal Inversion: Cooling the cake upside down uses gravity to stretch the protein walls while they are still flexible. This prevents the center from sinking as the air inside cools and contracts.
| Method | Time | Texture | Best For |
|---|---|---|---|
| Standard Oven | 45 mins | Airy and springy | Traditional height and structure |
| Water Bath | 60 mins | Moist and dense | Preventing edges from over browning |
Detailed Shopping List
| Ingredient | What It Does | Best Swap |
|---|---|---|
| Cake Flour | Provides structural walls | AP flour minus 2 tbsp, add 2 tbsp cornstarch |
| Egg Whites | Creates the lift | Aquafaba (for vegan, though height varies) |
| Cream of Tartar | Stabilizes the foam | 1/2 tsp lemon juice per tsp tartar |
| Superfine Sugar | Dissolves quickly in foam | Granulated sugar (pulse in blender first) |
For the Cake Batter
- 1 cup (120g) cake flour, sifted Why this? Low protein keeps the crumb tender.
- 1 ½ cups (300g) superfine sugar, divided Why this? Finer grains integrate without deflating air.
- 1 tsp (4g) cream of tartar Why this? Essential for foam stability.
- ½ tsp (3g) salt
- 12 large (approx. 400ml) egg whites, room temperature Why this? Room temp whites expand more.
- 1 tbsp (15ml) vanilla extract
For the Topping
- 2 cups (300g) fresh strawberries, sliced
- 2 tbsp (30g) powdered sugar
Technical Recipe Specs
To get a consistent result, you need to hit these specific checkpoints. I've found that weighing ingredients in grams is the only way to ensure the ratio of sugar to protein is exact.
- Foam Peak: The egg whites must reach "stiff peaks," meaning they stand straight up when the whisk is lifted without drooping.
- Oven Temp: 325°F (160°C). A higher temp will cause the cake to rise too fast and then crack.
- Cooling Window: Exactly 2 hours. Removing the cake from the Angel Food Cake Pan too early will cause an immediate collapse.
Required Baking Tools
You cannot use a standard cake pan for this. You need a dedicated 10 inch Angel Food Cake Pan. This pan has a center tube that allows heat to reach the middle of the cake and sides that the batter can "climb" as it rises.
I recommend a stand mixer such as KitchenAid for the egg whites. While a hand mixer works, the volume of 12 egg whites is significant, and a stand mixer provides the consistent aeration needed for a Fluffy Angel Food Cake. Also, make sure your bowl is stainless steel or glass.
Any trace of fat or oil on the bowl will prevent the whites from foaming.
The Baking Process
Phase 1: Preparing the Base
Set your oven to 325°F (160°C). Sift the cake flour, half the sugar, and salt into a medium bowl. Sift a second time to ensure the ingredients are aerated and clump-free, which helps prevent the egg bubbles from collapsing during folding.
Phase 2: Creating the Foam
In a clean bowl, whisk the cream of tartar and egg whites on medium speed until frothy. Slowly increase the speed to high, gradually adding the remaining sugar. Beat until stiff, glossy peaks form, achieving a texture similar to shaving cream.
Stir in the vanilla extract during the last 10 seconds of mixing.
Phase 3: Folding in Dry Ingredients
Spoon one third of the flour mixture over the egg whites. Carefully fold the flour in using a cutting-through-the-center and lifting motion. This must be done gently. Repeat this process with the remaining flour until just combined and no white streaks are visible.
Phase 4: Baking and Cooling
Transfer the batter into an ungreased Angel Food Cake Pan. Use a knife to slice through the batter and remove large air pockets. Bake for 40–45 minutes until the top springs back when lightly touched. Immediately flip the pan onto a bottle or cooling rack.
Let the cake cool entirely for 2 hours before taking it out of the pan.
Troubleshooting the Bake
Preventing Cake Collapse
If your cake sinks in the middle, it usually means the protein structure didn't set before the air cooled. This happens if you open the oven door too early, letting out the heat. Keep the door shut until the 40 minute mark. Also, ensure the cake is fully inverted during the cooling process. According to guidelines from King Arthur Baking, the cooling period is non negotiable for foam based cakes.
Stopping Over beating
Over beaten egg whites look grainy or clumpy rather than silky and smooth. If this happens, the proteins have bonded too tightly and will squeeze out the air during baking, leading to a dense cake. If you see the foam losing its gloss, stop the mixer immediately.
You can sometimes save it by gently whisking in a fresh egg white by hand.
Avoiding the Soggy Bottom
A damp bottom often occurs if the oven isn't fully preheated or if the pan is placed too low in the oven. Position your rack in the center. Ensure the pan is completely ungreased. Any oil on the sides of the pan acts as a lubricant, preventing the batter from gripping the walls and sliding down.
Adjusting the Batch Size
Adjusting the proportions of a foam cake is more challenging than with a butter cake, as aeration is heavily influenced by the size of the mixing bowl.
Scaling Down (1/2 Batch): Opt for a 6 inch or 8 inch tube pan. Shorten the baking duration by approximately 20%. To obtain half an egg, whisk one and then measure it out by volume or weight.
Scaling Up (2x Batch): Avoid doubling the batter in a single bowl unless you possess a commercial-grade mixer; instead, work in batches. When baking two cakes simultaneously, decrease the oven temperature by 25°F and extend the bake time by 5-10 minutes to account for the extra moisture in the oven.
| Goal | What to change |
|---|---|
| More stability | Increase cream of tartar by 1/4 tsp |
| Denser crumb | Use all purpose flour (will be heavier) |
| Faster prep | Use superfine sugar instead of granulated |
Storage and Waste Tips
Place the cake in a cardboard carrier or cover it loosely with plastic wrap. It will remain fresh for 2 days at room temperature or 5 days when chilled. I suggest avoiding the freezer unless the cake is wrapped very securely, as its porous texture easily picks up odors from the refrigerator and freezer.
To minimize waste, save the scraps from leveling the top. Sauté them in a pan with cinnamon and a knob of butter for a tasty breakfast. Any extra strawberry slices can be blended into a simple coulis to drizzle over the cake. If you are in the mood for something more decadent, you might enjoy this No Bake Chocolate Eclair Cake.
Serving Your Cake
The classic way to serve this is as an Angel Food Cake with Strawberries. Slice the cake into 12 wedges. Arrange the sliced strawberries on top and dust with powdered sugar.
For a more decadent version, serve it with a dollop of whipped cream and a drizzle of honey. If you are serving it for a brunch, a side of fresh mint leaves adds a nice color contrast. The light texture makes it a great base for any fruit that has a bit of acidity to balance the sugar.
Flavour and Diet Swaps
Angel Food Cake with Pineapple
Replace the strawberries with canned pineapple rings. Drain the pineapple well and pat dry with paper towels so the juice doesn't soak into the cake and make it soggy. This creates a flavor profile similar to a Pineapple Upside Down Cake, but a much lighter texture.
Creating Chocolate Angel Food Cake
To make a Chocolate Angel Food Cake, replace 2 tablespoons of the cake flour with high-quality cocoa powder. Sift the cocoa with the flour to ensure there are no lumps. Note that the cake will be slightly less white and may require an extra 5 minutes of baking time.
Diet Swap: gluten-free
You can use a 1:1 gluten-free flour blend. The cake will still rise, but the structure is slightly more fragile. Be extra careful during the folding process to avoid deflating the foam.
Angel Food Cake Strawberry Shortcake
Slice the cake into thick rounds and layer them with macerated strawberries and a heavy dollop of mascarpone cheese. This turns the light sponge into a more substantial dessert.
Common Baking Myths
Myth: Greasing the pan helps the cake come out. Truth: Greasing an Angel Food Cake pan is a disaster. The batter needs to "climb" the walls of the pan to rise. If the walls are greasy, the batter slips, and the cake stays flat.
Myth: You can use any flour for this recipe. Truth: All purpose flour has too much protein. It creates a tougher structure that fights against the air bubbles, resulting in a cake that is more like a sponge bread than a cloud.
Myth: The cake is done when the top is brown. Truth: Angel food cake stays quite pale. The real indicator is the "spring back" test. If you press the top and it bounces back immediately, it's done. If it leaves a dent, it needs more time.
Recipe FAQs
Why is a special pan required for angel food cake?
The straight sides and center tube provide the necessary support for the batter to climb.
Tip: Keep the pan ungreased so the cake can grip the walls.
How to stop the cake from collapsing?
Invert the pan immediately onto a bottle or cooling rack after baking.
Tip: Allow the cake to cool completely for 2 hours before removal.
Is it true that any type of flour produces the same results?
Surprisingly, no. The low-protein flour listed in the recipe is essential for the airy structure.
Tip: Sift the flour twice to ensure maximum aeration.
What is the secret to getting the highest rise?
Beat the egg whites and cream of tartar until stiff, glossy peaks form.
Tip: Ensure your mixing bowl is completely free of grease or oil.
Can I use different berries for the topping?
Fresh raspberries or blueberries work perfectly as tart alternatives.
Tip: If you loved this flavor balance, see how we use similar acid techniques in our butter sauce.
Angel Food Cake for 12 Servings Fluffy