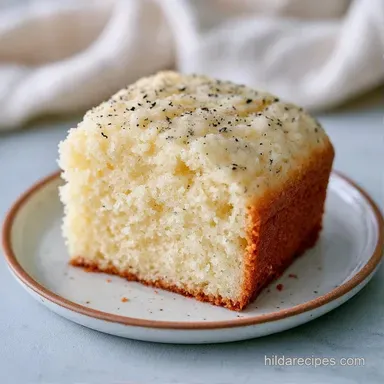
Fluffy Vanilla Bean Angel Food Cake
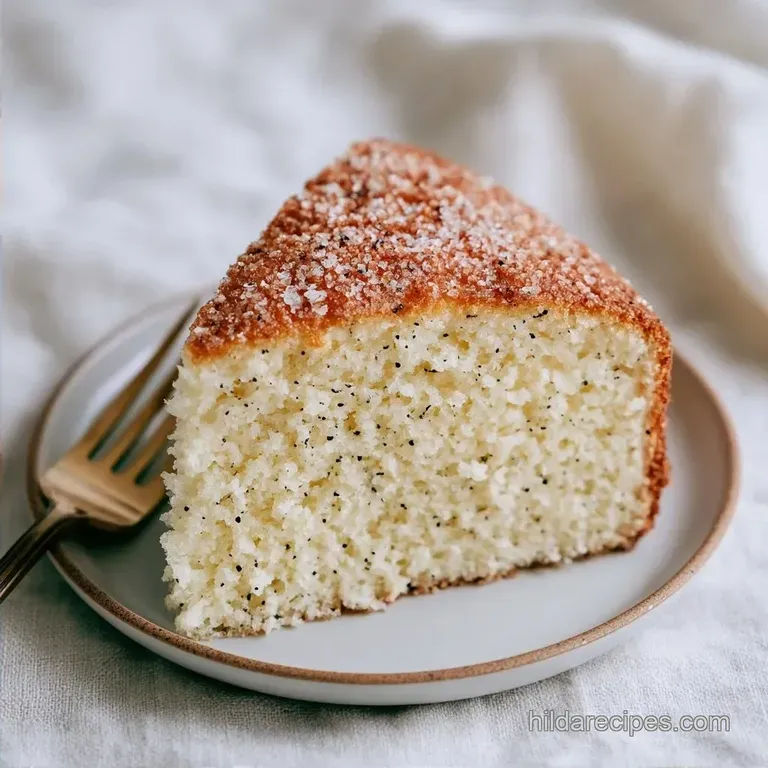
- Time: 30 min active + 1 hour cooling
- Flavor/Texture Hook: Spongy and cloud like
- Perfect for: Summer garden parties or tea time
Vanilla Bean Angel Food Cake
The scent of real vanilla bean fills the kitchen, cutting through the humid air of a July afternoon. I remember setting this cake on a white lace tablecloth for a family reunion, where the contrast of fresh raspberries and a dusting of powdered sugar made it look like a professional bakery piece.
It's the kind of dessert that feels light enough for a hot day but still tastes special.
This isn't a typical sponge. It's a technical exercise in aeration. We're essentially building a structure out of air and egg proteins, using sugar to stabilize the walls. The result is a snow white, spongy cake that doesn't weigh you down.
You can expect a high rise result that feels almost weightless. It’s a bit of a precision game, but once you understand the mechanics, it's a reliable addition to your baking repertoire.
The Logic of Texture
The structure of this cake comes from the egg white proteins. When we beat them, we create a network of bubbles that expands in the heat of the oven.
Protein Stability: Cream of tartar lowers the pH, which helps the egg proteins bond more strongly. This prevents the air bubbles from popping during the bake.
Sugar Integration: Adding sugar slowly creates a stable syrup around the air bubbles, which prevents the foam from collapsing when we fold in the flour.
| Method | Time | Texture | Best For |
|---|---|---|---|
| Box Mix | 50 min | Uniform/Tighter | Quick weeknight treat |
| From Scratch | 130 min | Airy/Spongy | Special occasions |
Necessary Kitchen Gear
You need specific tools to handle a foam this delicate. A standard cake pan won't work because the batter needs to "climb" the walls.
Must Have Tools
A 10 inch aluminum tube pan is mandatory. It must be ungreased, as any oil prevents the batter from gripping the sides. You also need a stand mixer or a hand mixer to reach the required stiff peaks.
3 Helpful Extras
A fine mesh sieve is vital for the double sifting process. A large metal bowl is better than plastic because it's easier to ensure it's completely grease free. Finally, a rubber spatula is the only way to fold in flour without deflating the air.
Ingredient Breakdown
Precision is everything here. I recommend using a digital scale for the dry ingredients to ensure the ratio of flour to sugar is exact.
| Ingredient | Role | If You Don't Have It |
|---|---|---|
| Cake Flour | Structure | AP flour + 2 tbsp cornstarch |
| Superfine Sugar | Stability | Regular sugar (pulse in blender) |
| Egg Whites | Aeration | No substitute for the foam |
| Cream of Tartar | Stabilizer | 1/2 tsp lemon juice per 4 whites |
For the Dry Base
Cake flour is essential because its lower protein content prevents the cake from becoming too chewy. I use 120g of cake flour and 1.5g of fine salt for a balanced profile.
For the Aeration
You'll need 12 large egg whites, which should be room temperature. This allows the proteins to expand more easily. 5g of cream of tartar ensures the foam doesn't collapse.
For the Signature Flavor
15ml of vanilla bean paste adds those beautiful black specks and a rich, floral scent. 300g of superfine sugar provides the necessary stability and sweetness.
Technical Recipe Specs
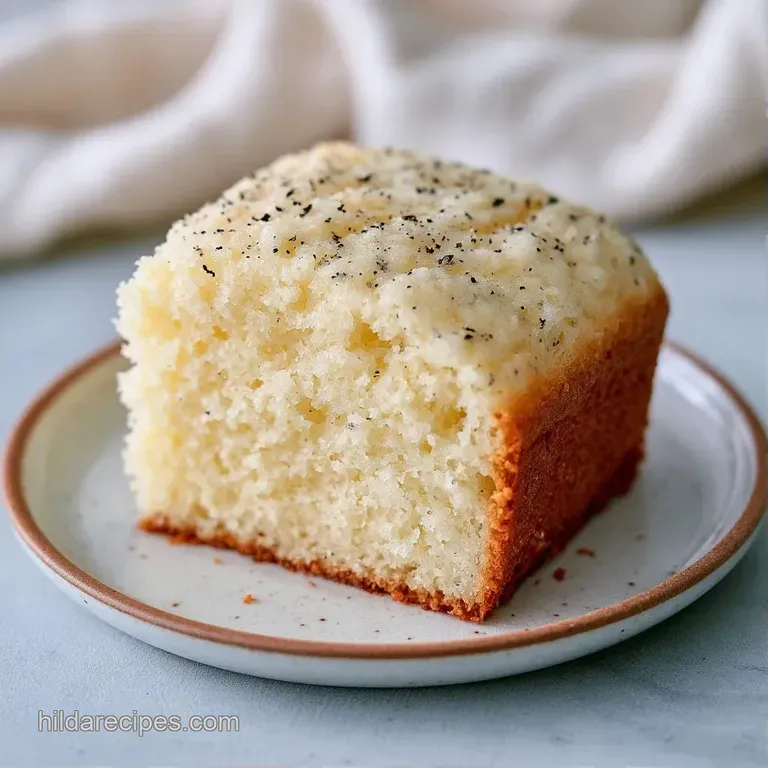
This recipe is a balance of time and temperature. Deviation can lead to a sunken center.
- Oven Temp: 325°F (163°C)
- Bake Time: 40 minutes
- Cooling Time: 1 hour (inverted)
Chef Note: Never grease your pan. The batter needs to stick to the aluminum to climb upwards. If you grease it, the cake will slide down and stay flat.
The Assembly Process
Adhere strictly to these instructions. The order in which ingredients are combined is critical for the cake's rise.
- Preheat the oven. Bring it to 325°F (163°C).
- Sift the dry components. Mix 120g cake flour, 1.5g salt, and half of the 300g sugar. Pass the mixture through a sieve twice. Note: This ensures maximum aeration.
- Whisk the whites. Using a metal bowl, beat 360ml egg whites and 5g cream of tartar at medium speed until a frothy consistency forms.
- Build stiff peaks. Turn the mixer to high and gradually incorporate the remaining sugar. Beat until the peaks stand straight up without drooping.
- Mix in vanilla. Gently stir in 15ml vanilla bean paste.
- Initial fold. Dust one-third of the flour blend over the whites. Carefully fold it in using a rubber spatula with a 'cut and turn' technique.
- Final fold. Incorporate the remaining flour. Stop mixing the moment white streaks disappear. Note: Overmixing kills the volume.
- Prepare the pan. Transfer the batter into an ungreased 10 inch aluminum tube pan.
- Bake. Heat for 40 minutes until the top springs back when lightly touched.
- Cool inverted. Flip the pan upside down immediately and let it cool for 1 hour.
Fixing Common Issues
Even with precision, things happen. Most issues stem from contamination or temperature.
Fixing Collapsed Cakes
If the cake sinks, it's usually because the oven door was opened too early. A rush of cool air during the first 20 minutes can kill the rise. If you prefer a more stable, denser treat, you might enjoy a Pineapple Upside Down Cake instead.
Handling Grainy Texture
A grainy crumb happens when sugar isn't fully dissolved in the egg whites. Make sure you add the sugar slowly and beat until the mixture is glossy.
Egg Whites Not Peaking
If your whites stay liquid, there was likely a trace of fat or yolk in the bowl. Even a drop of oil can prevent the proteins from bonding. Wash your bowl with a bit of lemon juice before starting to remove any residue.
Freshness and Storage
This cake stays moist thanks to the sugar, but it can dry out if left uncovered.
- Room Temperature
- Keep it under a cake dome for 2 days.
- In the Fridge
- Wrap it tightly in plastic and store in the cooler for 4 days.
- In the Freezer
- Slice the cake first, wrap individual pieces in foil, and freeze for 2 months.
Zero Waste Tip: If you have leftover egg yolks from this recipe, use them to make a rich vanilla custard or a batch of lemon curd to serve on top of the cake.
Simple Cake Variations
You can tweak the flavor profile without ruining the structure.
- The Berry Twist: Fold in 50g of freeze dried strawberry powder during the final flour step.
- The Citrus Shift: Replace the vanilla bean paste with 15ml of lemon or orange extract.
For a complete dessert spread, these slices pair well with Vanilla Wafer Cookies for a variety of textures.
Decision Shortcut:
- For a whiter cake: Use clear vanilla extract.
- For more stability: Add an extra pinch of cream of tartar.
- For a denser crumb: Reduce whipping time by 30 seconds.
Best Serving Methods
Your plating choices can transform the entire dessert experience. Since the cake is so light, it benefits from a bit of contrast.
The Fresh & Bright Approach Top each slice with fresh macerated strawberries and a dollop of whipped cream. The tartness of the berries balances the cake's sweetness.
The Decadent Approach Dust the surface with powdered sugar and serve with raspberry coulis. This vibrant, tart sauce pairs perfectly with the deep vanilla notes.
Precision Checkpoints
- 1. Peak Check
- The meringue must be stiff enough to hold its form after the beater is lifted.
- 2. Touch Test
- The cake is done at 40 minutes when the top feels springy and firm.
- 3. Cooling Timer
- Keep the pan inverted for exactly 1 hour to stop the cake from collapsing under its own weight.
Recipe FAQs
How to create a DIY cake mix?
Sift cake flour, salt, and half the superfine sugar together. This pre-aerated dry base ensures no lumps and maximum lightness when folding into the whites.
Which pan is necessary for the rise?
Use an ungreased 10-inch aluminum tube pan. The batter must cling to the sides to climb, and the central tube ensures the middle bakes through without collapsing.
Why does the cake cool upside down?
To prevent the foam from collapsing. Inverting the pan keeps the structural proteins stretched until they set completely, maintaining the airy height.
Is it true that angel food cake is actually bread?
No, this is a common misconception. It is a foam cake based on protein aeration; if you enjoyed mastering this texture, see how moisture balance works in our Authentic Tres Leches.
What ensures the most fluffy result?
Beat the egg whites to stiff peaks. Slowly incorporating superfine sugar stabilizes the air bubbles, creating a cloud-like crumb that stays spongy.
Vanilla Bean Angel Food Cake in 2h 10min