Homemade Vanilla Wafer Cookies Recipe
- Time: Active 15 minutes, Passive 12 minutes, Total 27 minutes
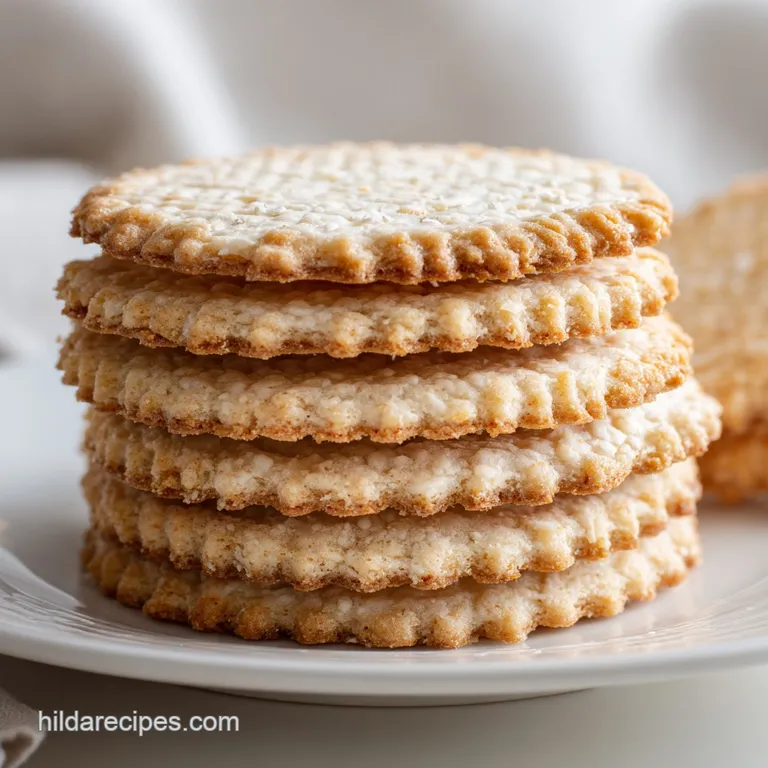
- Flavor/Texture Hook: Shatter crisp edges with a buttery, toasted vanilla heart
- Perfect for: Nostalgic family desserts or elevated afternoon tea snacks
- Creating the Best Homemade Vanilla Wafer Cookies
- Core Recipe Specifications
- Essential Pantry Staples
- Tools for the Job
- Mastering the Baking Process
- Solving Common Baking Issues
- Creative Flavor Variations
- Storage and Freshness Tips
- Elegant Serving Ideas
- Ingredient Substitutions
- Scaling Guidelines
- Flavor Myths Debunked
- Recipe FAQs
- 📝 Recipe Card
Creating the Best Homemade Vanilla Wafer Cookies
That first whiff of vanilla hitting a warm oven is exactly what childhood memories are made of. I remember standing on a stool in my grandmother's kitchen, watching her drop tiny mounds of dough onto a weathered baking sheet, promising me that these would be a thousand times better than the store-bought kind.
She was right, of course nothing beats the way a warm, homemade wafer practically melts into a velvety pudding or shatters with a satisfying snap when you take that first bite.
I spent years trying to replicate that specific, airy yet-crunchy texture. I made mistakes along the way, like using cold eggs that curdled the batter or over mixing the flour until the cookies turned into tiny hockey pucks. But through those kitchen trials, I perfected the balance of fats and leavening.
This recipe is the result of those generations of "taste and see" wisdom, simplified so you can get it right on your very first try without any fuss.
We aren't just making cookies here; we're creating a versatile foundation for so many classic desserts. Whether you are lining a glass bowl for a southern banana pudding or just looking for a light treat to go with your coffee, these little golden discs are the answer.
They have a sophisticated depth of flavor thanks to the vanilla bean paste, making them feel special while remaining completely approachable for any home cook.
The Physics of the Snap
High speed creaming incorporates microscopic air pockets into the butter, which expand during baking to create a light, porous structure. As the moisture evaporates in the oven, these tiny gaps remain, resulting in a cookie that shatters rather than crumbles.
Chef Tip: Freeze your baking sheets for 5 minutes before dropping the dough. This slight chill prevents the butter from melting too quickly, ensuring the cookies maintain a rounded shape instead of spreading into thin puddles.
Core Recipe Specifications
Before we get our hands messy, let's look at how this recipe stacks up in terms of cost and quality. While many of us reach for the shortcut box at the grocery store, there is a significant trade off in flavor and texture that you only realize once you have tasted the scratch made version.
| Feature | Grocery Store Shortcut | Homemade Vanilla Wafer Cookies |
|---|---|---|
| Primary Fat | Vegetable oils/Shortening | Real unsalted butter |
| Vanilla Source | Artificial vanillin | Pure bean paste or extract |
| Texture | Uniformly hard/Sandy | Crisp edges, airy center |
| Preservatives | High (for shelf life) | Zero (completely fresh) |
Choosing the right ingredients can feel like a splurge, but the impact on the final result is undeniable. If you have a few extra dollars in the budget, I always recommend opting for high-quality vanilla bean paste.
The tiny black flecks not only look beautiful but provide a much more complex, floral aroma that permeates the entire cookie.
One thing I have learned over the years is that the temperature of your kitchen matters just as much as the ingredients. If your house is particularly warm, your dough might become too soft to handle. If that happens, just pop the whole bowl in the fridge for 10 minutes.
It is these little adjustments that turn a good baker into a great one. Trust your instincts and the feel of the dough.
Essential Pantry Staples
To get that perfected shatter crisp texture, every ingredient has a specific job to do. We aren't just tossing things into a bowl; we are building layers of flavor and structure.
| Ingredient | Science Role | Pro Secret |
|---|---|---|
| Unsalted Butter | Provides fat for tenderness | Use European style butter for higher fat content and less water. |
| Granulated Sugar | Aids in browning and crispness | Sift the sugar if it feels lumpy to ensure even aeration during creaming. |
| Vanilla Bean Paste | Primary flavor profile | Paste offers a more "gourmet" look and concentrated flavor than extract. |
| Baking Powder | Creates the lift and "snap" | Always check the expiration; old powder leads to flat, dense wafers. |
For the dry base, you'll need 1 1/3 cups (165g) of all purpose flour. It provides just enough gluten to hold the shape without making the cookies tough. If you find yourself out of all purpose, you can use a 50/50 mix of bread flour and cake flour, though the texture will be slightly more "toothy."
The 1/4 teaspoon (1.5g) of fine sea salt is non negotiable. It might seem like a tiny amount, but salt is the ultimate flavor magnifier. It cuts through the sweetness of the 3/4 cup (150g) of granulated sugar and makes the vanilla notes sing. Without it, the cookies taste flat and one dimensional.
Tools for the Job
You don't need a professional pastry kitchen to make these, but a few specific tools will make your life much easier. A stand mixer is your best friend here because it can sustain the high speed needed to cream the butter and sugar into a pale, fluffy cloud.
If you are using a hand mixer, just be prepared to spend an extra minute or two on that initial step.
Silicone baking mats are another secret weapon for homemade vanilla wafer cookies. They provide a non stick surface that promotes even browning on the bottom of the cookie. If you don't have them, parchment paper works perfectly well, but avoid greasing the pan directly with butter or oil, as this can cause the cookies to spread too much.
Finally, grab a small cookie scoop or a measuring teaspoon. Consistency is key when you are making 48 servings. If some cookies are larger than others, the small ones will burn while the large ones stay doughy in the middle.
Keeping them uniform ensures that every single wafer reaches that golden, toasted state at the exact same time.
Mastering the Baking Process
Let's get into the rhythm of the kitchen. This process is quick, so I like to have all my ingredients measured out before I even turn on the mixer.
- Cream the butter. Beat 1/2 cup (113g) softened butter and 3/4 cup (150g) sugar until pale and voluminous. Note: This takes about 3 full minutes.
- Add the liquids. Incorporate 1 large egg, 2 teaspoons vanilla bean paste, and 1 tablespoon whole milk.
- Emulsify the base. Beat on medium speed until the mixture looks velvety and smooth.
- Whisk dry goods. In a separate bowl, combine 1 1/3 cups flour, 3/4 teaspoon baking powder, and 1/4 teaspoon salt.
- Combine carefully. Slowly add the dry ingredients to the wet.
- Mix the dough. Pulse the mixer until no white streaks of flour remain. Note: Over mixing here creates a tough cookie.
- Scoop the dough. Drop rounded teaspoons of dough onto the prepared pans, spaced 2 inches apart.
- Bake the wafers. Cook at 350°F for 12 minutes until the edges are deeply golden.
- Cool on pan. Let them sit for 5 minutes until they firm up enough to move.
- Final crisping. Transfer to a wire rack until completely cool and shatter crisp.
Mixing the Creamy Base
The magic happens in the first three minutes. When you cream the butter and sugar, you are essentially mechanical leavening the dough. You want to see the color change from a yellow butter hue to a soft, off white cream. This air is what makes the cookies light.
Knowing When They're Done
Vanilla wafers are deceptive. They will still feel soft to the touch when the timer goes off. Look for the color change the edges should be a distinct toasted brown, while the centers remain a pale gold. As they cool, the sugar solidifies and the moisture finishes evaporating, giving you that signature crunch.
Solving Common Baking Issues
Even with the best intentions, things can go sideways in the oven. The most common heartbreak with this recipe is the "pancake effect," where the cookies spread into one giant sheet. Usually, this is a temperature issue.
If your butter was too melty to start with, the structure collapses before the flour has a chance to set.
Fixing Flat Cookies
If your cookies are spreading, try chilling the dough for 30 minutes before the next batch. This firms up the fat, allowing the cookies to hold their rounded shape longer in the heat. Also, make sure you aren't placing dough onto a hot baking sheet that just came out of the oven.
Always let your pans cool down to room temperature between batches.
Getting That Signature Crunch
If your wafers come out soft or cakey, you likely didn't bake them long enough or your oven temperature is slightly low. Every oven is a little different! Try leaving the next batch in for an extra 60 to 90 seconds.
You can also try the "oven dry" method: once all the cookies are baked, turn off the oven, put all the cookies back on one tray, and let them sit in the cooling oven for 10 minutes with the door ajar.
| Problem | Root Cause | Solution |
|---|---|---|
| Tough Texture | Over mixing flour | Mix dry ingredients only until just combined. |
| No Flavor | Weak vanilla | Use paste or a high-quality pure extract only. |
| Burnt Bottoms | Dark baking sheets | Use light colored pans or double up the parchment paper. |
Common Mistakes Checklist:
- ✓ Always use room temperature eggs to prevent the butter from seizing and curdling.
- ✓ Measure flour by spooning it into the cup and leveling it off; never scoop directly with the cup.
- ✓ Ensure your baking powder is fresh by dropping a pinch into hot water (it should bubble instantly).
- ✓ Don't skip the milk; that tiny bit of moisture helps the sugar dissolve for a smoother top.
- ✓ Space the cookies at least 2 inches apart to allow for proper air circulation.
Creative Flavor Variations
Once you have mastered the classic homemade vanilla wafer cookies, you can start playing with the profile. This dough is incredibly forgiving and acts as a blank canvas for your culinary imagination.
Bright Citrus Infusions
Adding the zest of one lemon or orange to the sugar before creaming creates a bright, summery version of this cookie. The oils in the zest are released as they rub against the sugar granules, perfuming the entire batch. These are particularly lovely when served alongside a dish of fresh berries or a tart fruit sorbet.
Warm Spice Blends
For a cozy, autumnal feel, whisk 1/2 teaspoon of ground cardamom or cinnamon into your dry ingredients. Cardamom and vanilla are a match made in heaven, offering a sophisticated, almost floral warmth that feels very high end.
If you want to go even bolder, a tiny pinch of nutmeg adds an "old-fashioned" bakery vibe that is hard to resist.
- Almond Twist: Swap 1 teaspoon of vanilla for 1/2 teaspoon of almond extract for a marzipan like aroma.
- Salted Vanilla: Sprinkle a tiny pinch of flaky Maldon salt on top of each cookie immediately after they come out of the oven.
- Chocolate Dipped: Melt dark chocolate and dip half of each cooled cookie for a decadent treat.
Storage and Freshness Tips
These cookies are at their absolute peak about two hours after baking, once they have fully crisped up but still retain that fresh butter aroma. However, they are surprisingly sturdy if handled correctly. Store them in an airtight container at room temperature for up to 5 days.
If they start to lose their snap due to humidity, a quick 3 minute toast in a 300°F oven will bring them right back to life.
If you want to reduce waste, save any broken pieces or crumbs at the bottom of the container. These are "baker's gold!" Pulse them in a food processor and use the crumbs as a base for cheesecake crusts or as a crunchy topping for yogurt parfaits. You can even freeze the crumbs in a zip top bag for up to 3 months.
For long term storage, these wafers freeze beautifully. Place the completely cooled cookies in a single layer on a baking sheet to freeze them solid, then transfer them to a freezer safe bag. They will stay fresh for up to 2 months.
When you are ready for a snack, you don't even need to thaw them they are actually quite delicious eaten straight from the freezer!
Elegant Serving Ideas
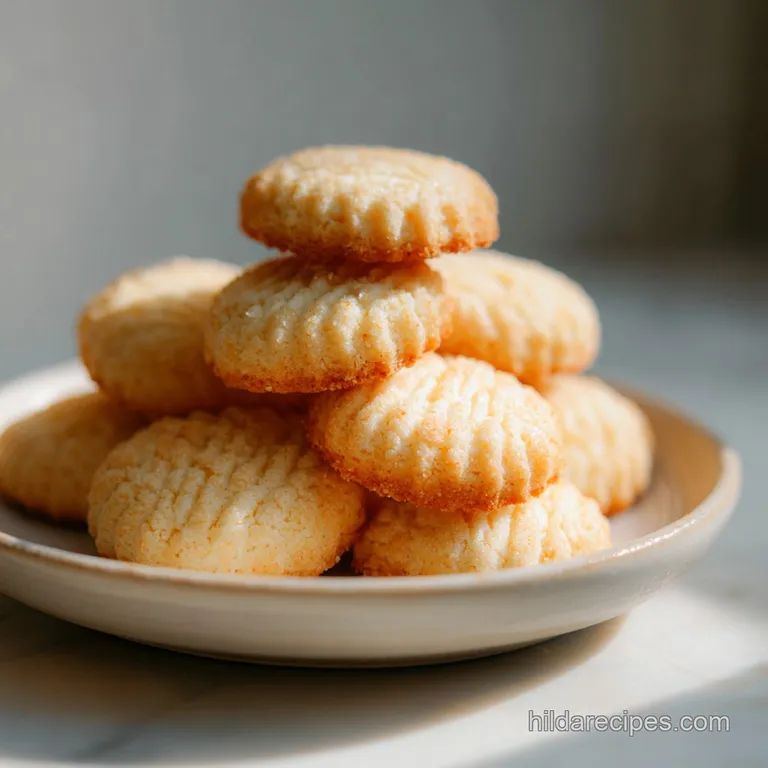
Presentation is where you can really let your personality shine. While a pile of these in a ceramic bowl is classic, there are ways to make them look like they came from a boutique patisserie. I love using them as "garnishes" for more complex desserts.
A single, perfectly round wafer perched on a dollop of whipped cream atop a pudding looks intentional and refined.
If you are hosting a brunch, try making "wafer sandwiches." Smear a tiny bit of lemon curd or raspberry jam between two cookies. The moisture from the filling will soften the inside of the cookie slightly while the outside remains crisp, creating a delightful contrast in textures.
It is a simple trick that looks much more impressive than the effort required.
Don't forget the power of a glass jar. A tall, clear apothecary jar filled with these golden rounds makes for a beautiful countertop display. It invites guests to help themselves and fills the room with that subtle, sweet scent of vanilla.
It's a reminder that the best things in life are often the simplest, made with love and shared with friends.
Ingredient Substitutions
If you find yourself missing an item, don't panic. There are ways to adapt this recipe without losing the soul of the cookie.
| Original Ingredient | Substitute | Why It Works |
|---|---|---|
| Unsalted Butter | Salted Butter | Use same amount but skip the added fine sea salt. |
| Granulated Sugar | Light Brown Sugar | Adds moisture and a caramel note. Note: Results in a softer, chewier cookie. |
| Whole Milk | Heavy Cream | Adds a richer mouthfeel. Note: May slightly decrease the "snap" of the wafer. |
Similar to the logic used in our shortbread recipe, the ratio of fat to flour is what determines the final crumb. If you swap the butter for a vegan alternative, ensure it is a stick style "butter" rather than a tub margarine, as the latter has too much water and will cause the cookies to steam rather than bake.
Scaling Guidelines
When you're baking for a crowd or just for a quiet evening, you might need to adjust the yield. This recipe is easily doubled, but there are a few rules to keep in mind to maintain that perfected texture.
- Scaling Down (1/2 Batch): This is straightforward, but for the egg, beat one large egg in a small bowl and use exactly 2 tablespoons of the mixture. Reduce the bake time by about 1-2 minutes as the smaller volume may heat faster in some ovens.
- Scaling Up (2x Batch): Keep the salt and baking powder at 1.5x the original amount to avoid a chemical aftertaste. You will likely need to work in batches, so keep the unused dough in the refrigerator between tray rotations to prevent the butter from getting too soft.
- Baking for Large Parties: If you are tripling the recipe, use two oven racks but rotate the pans halfway through the 12 minute cook time (top to bottom and front to back) to ensure every cookie gets even heat exposure.
Flavor Myths Debunked
Many people believe that "pure vanilla extract" is always superior to "imitation vanilla." While that is true for cold applications like frosting, some over high heat baking tests show that the flavor compounds in imitation vanilla can actually hold up better in the oven.
However, for these wafers, where vanilla is the star, the complexity of real bean paste is unbeatable.
Another common myth is that you must chill the dough for hours to get a good cookie. While chilling helps with spreading, it isn't a requirement for flavor development in this specific recipe.
Because we rely on the aeration of the butter and the immediate leavening of the baking powder, you can go from mixing to eating in under 30 minutes without sacrificing any quality.
Finally,, some suggest that using cake flour will make a "lighter" wafer. In reality, cake flour lacks the protein structure needed to give the cookie its signature snap. All purpose flour is the gold standard here because it provides enough strength to hold those tiny air bubbles, resulting in a wafer that is light but still has a definitive, satisfying crunch.

Recipe FAQs
What is the difference between Nilla Wafers and vanilla wafers?
Nilla Wafers are a specific brand; vanilla wafers are the generic type. Nilla Wafers are the most famous commercial iteration, using vegetable shortening and artificial flavors, which differ from scratch recipes that prioritize real butter and pure vanilla extract.
What is the difference between a cookie and a wafer?
A wafer is characteristically thinner and crispier due to lower moisture content. Cookies are generally thicker and may remain slightly chewy, whereas wafers are designed to shatter when bitten, often achieved through high speed creaming methods.
Why do Nilla Wafers taste different now?
Yes, the flavor profile has subtly changed over the decades. Commercial recipes evolve to optimize for shelf stability, often involving adjustments to the type of fat used and the artificial flavorings, leading to a less buttery and less complex taste than older formulas.
What are the ingredients in Nilla Wafers cookies?
The primary ingredients include enriched flour, sugar, vegetable oil, and corn syrup solids. They also contain leavening agents, salt, and artificial flavorings to achieve their distinctive texture and sweetness.
How do I ensure my homemade wafers are shatter crisp?
Cream the butter and sugar aggressively until very pale and voluminous. This incorporates necessary air pockets that expand during baking, and the final low-moisture state results in the desired brittle snap.
Is it true I must chill the dough before baking homemade vanilla wafers?
No, this is a common misconception if you need speed. Chilling helps prevent spreading, but if your butter starts perfectly softened (not melted) and you bake immediately, the high creaming speed compensates for the need for long chilling times.
How to store homemade vanilla wafers to maintain crispness?
Store them in a completely airtight container at room temperature. If they absorb humidity and become soft, reheat them briefly on a baking sheet at 300°F for 3 minutes to dry them out again.
Homemade Vanilla Wafer Cookies

Ingredients:
Instructions:
Nutrition Facts:
| Calories | 44 kcal |
|---|---|
| Protein | 0.5 g |
| Fat | 2.1 g |
| Carbs | 5.8 g |
| Fiber | 0.1 g |
| Sugar | 3.2 g |
| Sodium | 20 mg |
