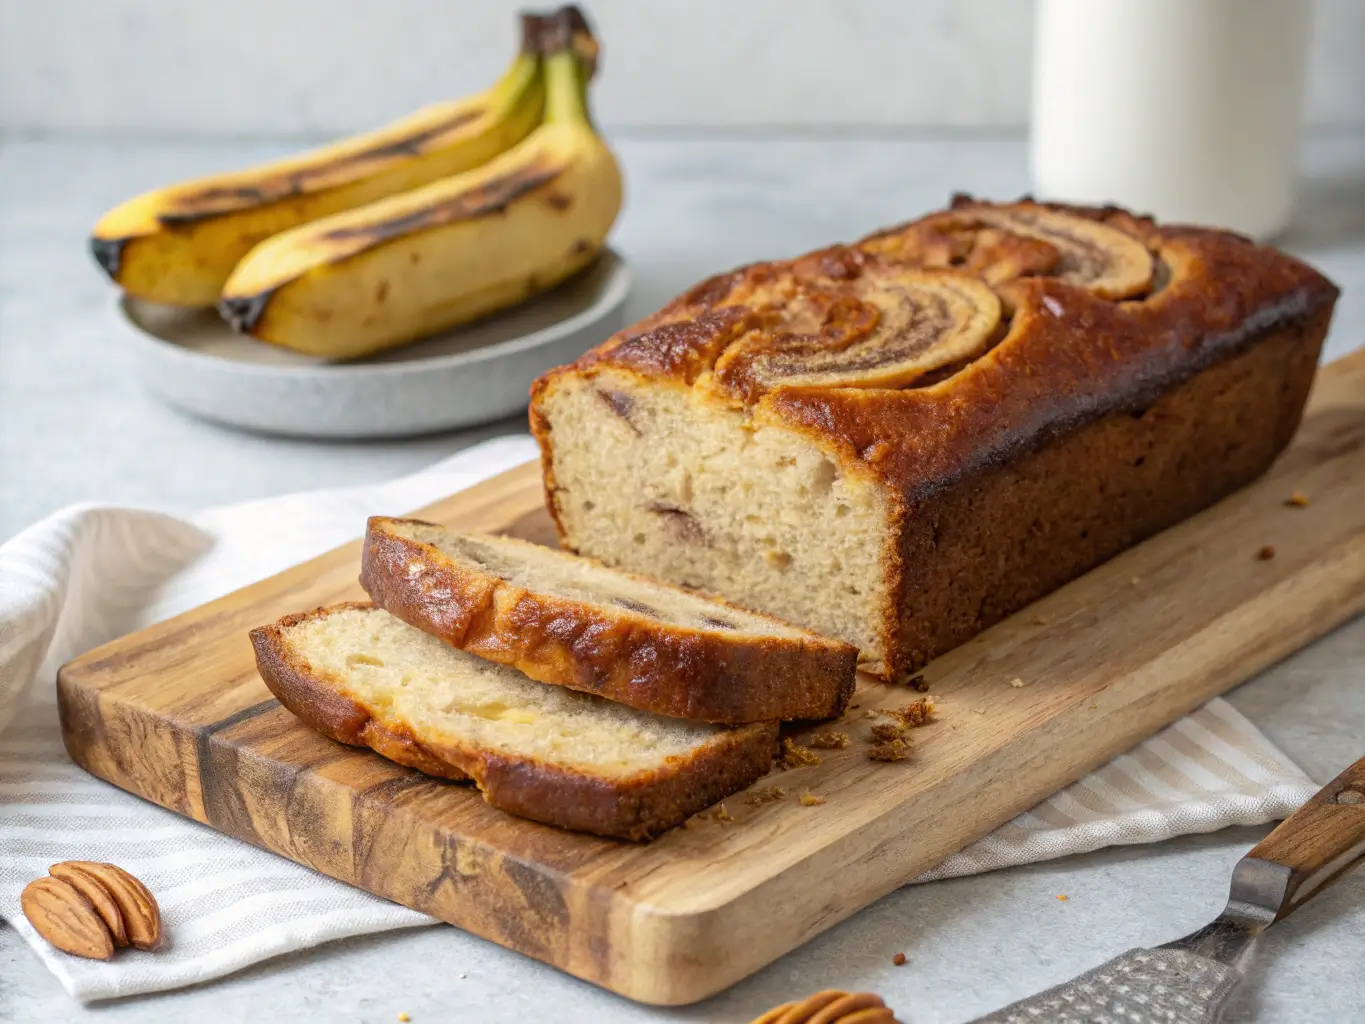
Banana bread is one of those timeless, comforting baked goods that brings back memories of cozy mornings or family gatherings. With its soft texture, rich flavor, and just the right amount of sweetness, it’s hard to resist a warm slice straight from the oven. But have you ever wondered if there’s more to making banana bread than simply mixing ingredients and throwing it into the oven? Should you let banana bread rest before baking?
The question that often pops up among bakers is: Should you let banana bread rest before baking? If you’ve ever asked yourself this, It’s a topic that divides bakers, and today, we’ll dive deep into the science behind it. We’ll explore why letting banana bread rest (or not) might impact the texture, flavor, and overall quality of your loaf.
Let’s start by addressing why this question even matters and whether letting your banana bread rest could improve your baking results.
Table of Contents
Introduction: The Banana Bread Debate
Banana bread is arguably one of the easiest, It’s forgiving, versatile, and a great way to use up ripe bananas. But like many simple recipes, there are little tricks and tips that can make a world of difference to the final product.
Some bakers claim that this resting period results in a better texture and flavor, while others insist that it’s unnecessary. So, which side of the debate is right?
This article will help you understand the pros and cons of letting your banana bread rest. We’ll look at the science behind it, discuss common baking problems, and share expert tips to help you achieve banana bread perfection.
What Happens When You Let Banana Bread Rest?

Effects on Texture and Moisture
When it comes to banana bread, A good loaf should have a soft, moist crumb with a slight density. If you’ve ever ended up with a dry or overly dense banana bread, you might wonder if something went wrong during the baking process.
Letting the banana bread dough rest before baking can make a significant difference to the final texture of the loaf. Here’s how:
- Hydration of the Flour: Allowing the dough to rest gives the flour more time to absorb the liquid ingredients. As the flour absorbs the moisture, the batter becomes more evenly hydrated. This results in a smoother, more uniform texture when baked.
- Reduction of Gluten Development: Banana bread typically doesn’t require a lot of gluten development (like in bread baking), but resting the dough can still help. Gluten, when overworked, can cause a loaf to become tough. Resting gives the gluten a chance to relax, which can lead to a tender loaf.
- Even Distribution of Ingredients: Resting the dough allows the baking soda and baking powder (or other leavening agents) to start reacting with the liquid ingredients. This can result in a more evenly risen loaf with a lighter, airier texture.
How Resting Impacts the Flavor
Flavor development is another reason why many bakers swear by the resting method. The sugars in your bananas and other ingredients undergo subtle changes as they sit. Here’s why:
- Bananas Release More Flavor: As the banana bread batter rests, the natural sugars in the bananas continue to break down, leading to a more intense banana flavor once the bread is baked. This process also allows the other ingredients, like cinnamon or vanilla, to blend more thoroughly into the batter, creating a more complex flavor profile.
- Leavening Agents Work Slowly: Baking soda, a common leavening agent in banana bread, works by reacting with acidic ingredients, like the mashed bananas or buttermilk, to produce carbon dioxide. This gas helps the batter rise. By allowing the dough to rest, you give this reaction more time to begin before the bread is even placed in the oven, which can lead to a better rise and a lighter loaf.
- Fermentation of Yeast (if used): Though less common, some banana bread recipes use yeast instead of baking soda or baking powder. Resting the dough allows the yeast to ferment the sugars in the dough, creating subtle flavor notes and contributing to a more complex, slightly tangy taste.
Classic Banana Bread Recipe

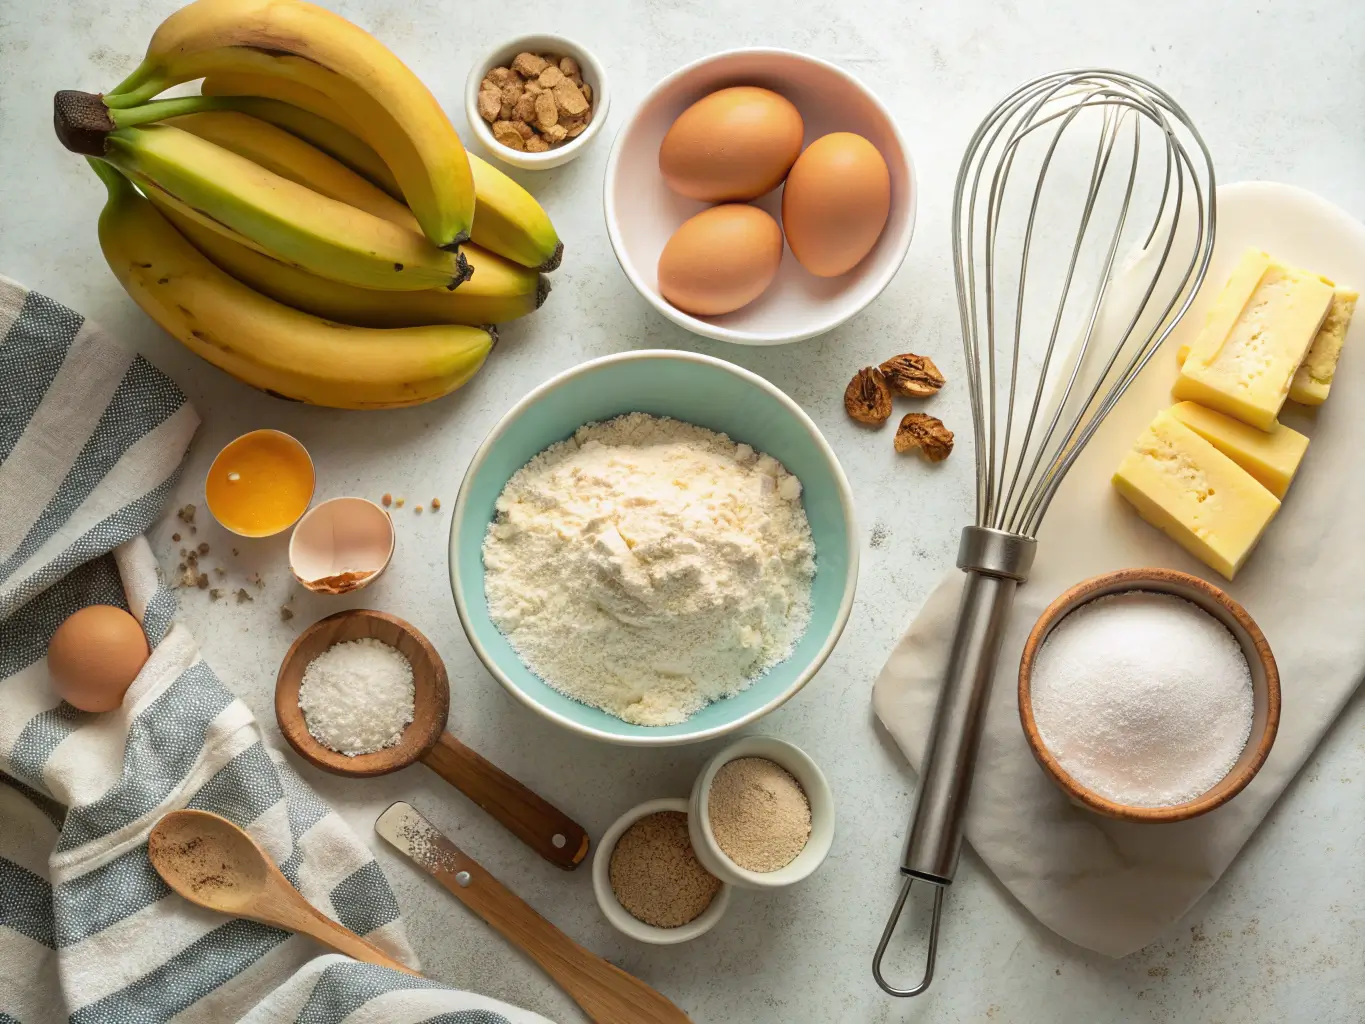
Ingredients:
- 2 to 3 ripe bananas (mashed)
- 1/2 cup (115g) unsalted butter, melted
- 3/4 cup (150g) granulated sugar (or brown sugar for a richer flavor)
- 1 large egg
- 1 tsp vanilla extract
- 1 1/2 cups (190g) all-purpose flour
- 1 tsp baking soda
- 1/4 tsp salt
- 1/2 tsp ground cinnamon (optional)
- 1/4 cup (60ml) milk (or buttermilk for added richness)
- Optional: 1/2 cup chopped walnuts or chocolate chips (for extra texture and flavor)
Instructions:
- Preheat your oven: Set the oven to 350°F (175°C) and grease a 9×5 inch loaf pan with butter or cooking spray.
- Prepare the bananas: In a large bowl, mash the ripe bananas with a fork until smooth. If you like your banana bread extra banana-y, leave some chunks!
- Mix wet ingredients: Stir in the melted butter into the mashed bananas until fully combined. Then add the sugar, egg, and vanilla extract, mixing well.
- Dry ingredients: In a separate bowl, whisk together flour, baking soda, salt, and cinnamon.
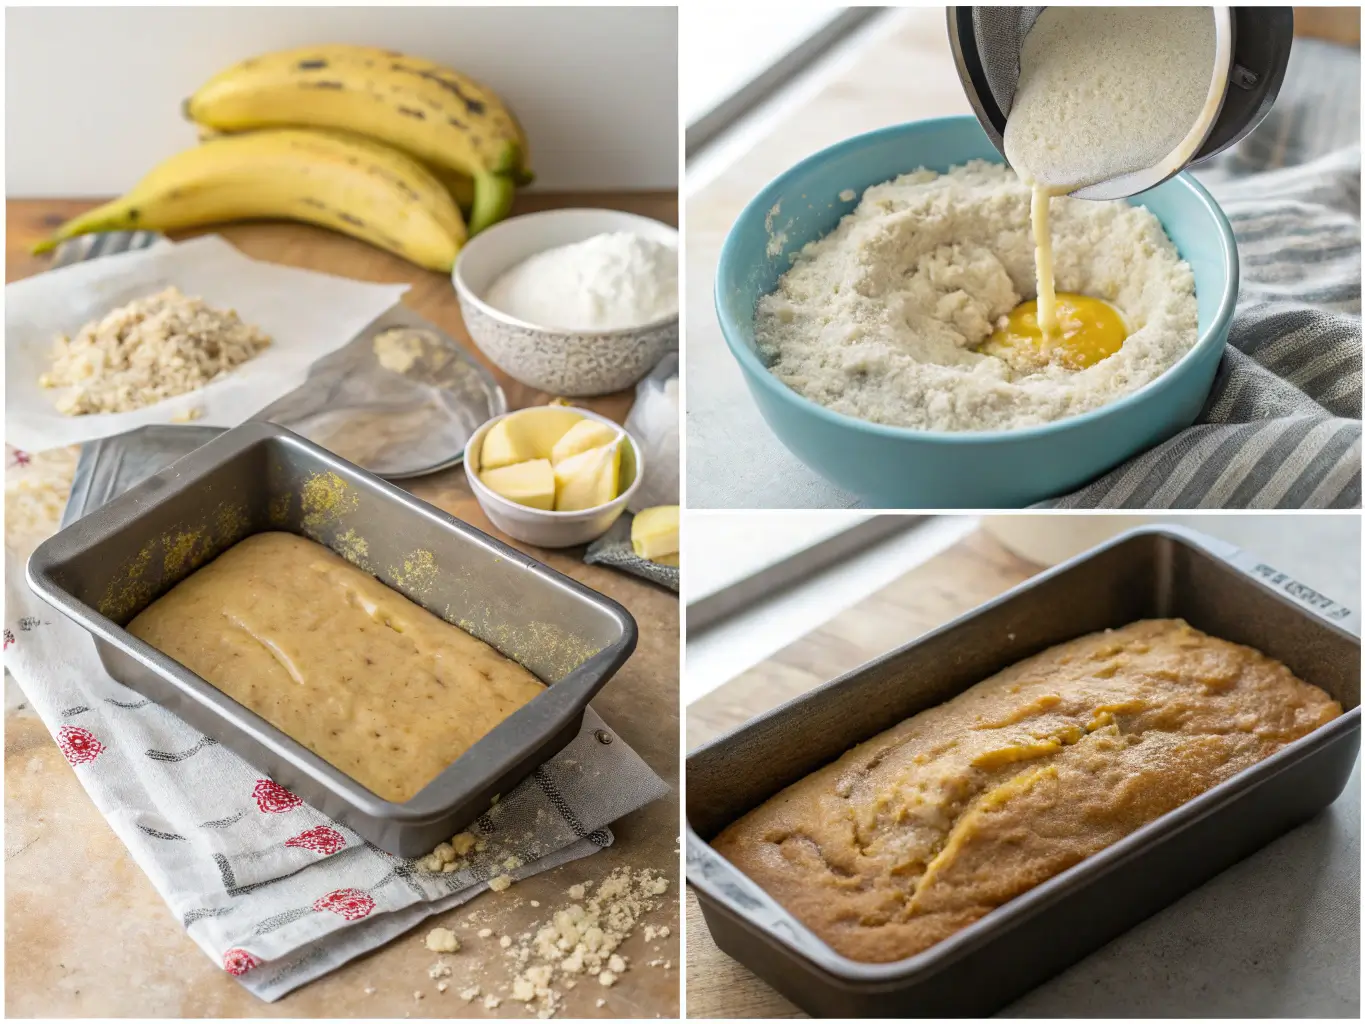
- Combine: Gradually add the dry ingredients to the banana mixture, mixing until just combined. Be careful not to overmix, as this can make the bread dense.
- Add milk: Stir in the milk (or buttermilk) until the batter is smooth. If you’re using walnuts or chocolate chips, fold them in now.
- Pour into the pan: Transfer the batter into your prepared loaf pan, spreading it out evenly.
- Bake: Place the pan in the oven and bake for 60-70 minutes. The banana bread is done when a toothpick inserted into the center comes out clean (or with just a few moist crumbs). If the top starts to brown too quickly, you can tent the loaf with foil to prevent over-baking.
- Cool: Let the banana bread cool in the pan for about 10 minutes before transferring it to a wire rack to cool completely.
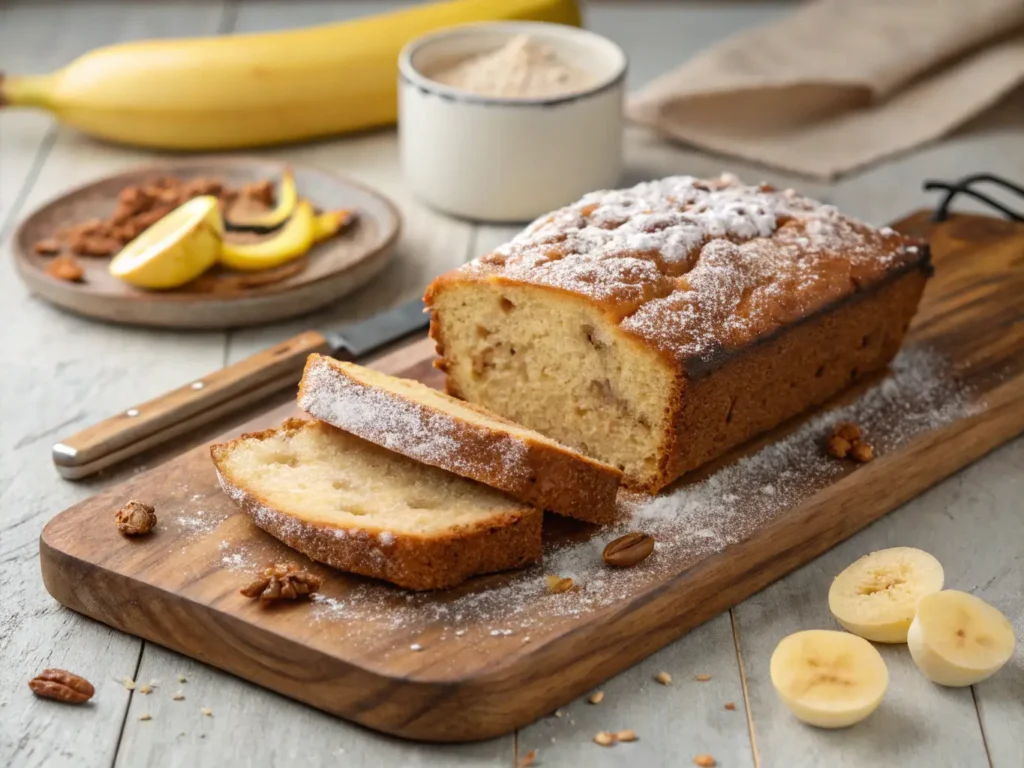
- Serve and enjoy!: Once cooled, slice up your banana bread and enjoy with a cup of tea or coffee. You can store leftovers in an airtight container for up to 3 days or freeze them for later.
Pro Tip: If you’re planning to rest the batter, allow it to sit at room temperature for 10–15 minutes before baking. This will allow the flour to fully hydrate and the leavening agents to start their magic, resulting in an even fluffier texture.
The Science Behind Resting Banana Bread
The Role of Ingredients and Resting Time
Now that we’ve covered the basics of how resting affects texture and flavor, let’s get a little more scientific. Resting is not just a random suggestion from bakers—it’s grounded in the chemistry of your ingredients.
- Flour and Hydration: Flour is made up of starch and protein (mainly gluten). When you mix flour with wet ingredients, it starts absorbing the liquid, which activates the gluten. If you let the dough rest, the gluten strands relax, leading to a softer, fluffier loaf. The flour also absorbs more moisture over time, preventing the bread from being too dry.
- Baking Soda or Powder: In banana bread, the leavening agents—typically baking soda and/or baking powder—play a crucial role in creating rise and texture. These ingredients are activated by moisture and heat, but if given time to react with the wet ingredients, they can start the leavening process before the bread is even placed in the oven. This can lead to a lighter and fluffier loaf.
Why Yeast and Baking Soda React Differently
Baking soda works by reacting with acidic ingredients, like the mashed bananas or buttermilk, to produce carbon dioxide. This gas helps the dough rise during baking. On the other hand, yeast relies on a longer fermentation process, converting sugars into alcohol and carbon dioxide, which is why yeast-leavened doughs often require more resting time and proofing before baking.
Banana bread typically doesn’t use yeast, but if you ever try a recipe that incorporates it, you’ll notice a significant difference in texture and flavor. With yeast, resting is crucial for the fermentation process to occur. This extended rise time allows for more complex flavors and a light, airy texture. Baking soda and baking powder, however, only need minimal resting time because their leavening action begins as soon as they are mixed with wet ingredients.
In short, whether you’re using baking soda or yeast, resting gives these leavening agents time to work, which is why some banana bread recipes benefit from a short rest period.
Common Banana Bread Problems You Might Face
Even if you follow a recipe to the letter, banana bread can still go wrong sometimes. The beauty of banana bread is that it’s fairly easy to make, but there are a few common issues that can crop up, especially if you skip the resting period or don’t get the balance just right.

Too Dense or Underbaked Loaf
One of the most common complaints about banana bread is that it can turn out too dense or underbaked. While it’s normal for banana bread to have some density, you want it to be light and moist, not heavy and raw in the center.
Potential Causes and Solutions:
- Cause: Overmixing the batter. Overmixing can cause the gluten in the flour to develop too much, resulting in a tough, dense loaf. Solution: Mix your ingredients just until combined. It’s okay if the batter is a bit lumpy.
- Cause: Underbaking. Sometimes the outside looks golden brown, but the inside is still raw. Solution: Always check your banana bread for doneness by inserting a toothpick or cake tester into the center. If it comes out clean or with a few crumbs clinging to it, the bread is done.
Dry or Crumbly Banana Bread
Banana bread should be moist and slightly dense, but sometimes, it can turn out dry or crumbly. This is usually due to overbaking or an imbalance in the ingredients.
Potential Causes and Solutions:
- Cause: Overmixing the batter, which leads to the loss of moisture. Solution: As mentioned earlier, mix just enough to combine the ingredients. Don’t overwork the batter.
- Cause: Too much flour or not enough fat. Solution: Ensure that you’re measuring your flour correctly (spoon it into your measuring cup and level it off). If your banana bread is still dry, consider adding a bit more fat (like butter or oil) or an extra egg.
Benefits of Letting Banana Bread Rest Before Baking
Resting banana bread dough isn’t just about improving texture and flavor—it also offers other benefits that can improve the overall quality of your loaf.
- Improved Rise and Softness: Resting the dough gives the leavening agents time to react and start the rising process before the bread hits the oven, leading to a better rise and softer texture.
- Enhanced Flavor Development: As the dough rests, the flavors of the bananas and other ingredients meld together more thoroughly. This results in a deeper, more complex taste when the bread is baked.
- Smoother, More Even Crumb: Resting helps ensure that the flour is evenly hydrated, leading to a smooth, uniform texture that’s not too dense or dry.
Conclusion
In the end, whether or not you let your banana bread rest before baking really depends on what you’re looking for in your final loaf. Resting the dough can certainly improve texture, flavor, and overall rise, especially when you allow the leavening agents time to react. However, if you’re short on time or simply prefer a quick bake, it’s not a must-do step—banana bread is incredibly forgiving!
The key is to experiment with different methods and see what works best for your taste. If you’re aiming for a richer flavor and a lighter texture, allowing your dough to rest for about 15–30 minutes can do wonders. But don’t stress if you can’t wait that long. A freshly mixed banana bread is still going to be delicious!
And if you’re craving more delightful recipes to try, like a hearty Chicken Parmesan sandwich for lunch, check out this Chicken Parm Sandwich recipe. It’s the perfect balance of crispy, cheesy, and saucy goodness—definitely worth trying!

